
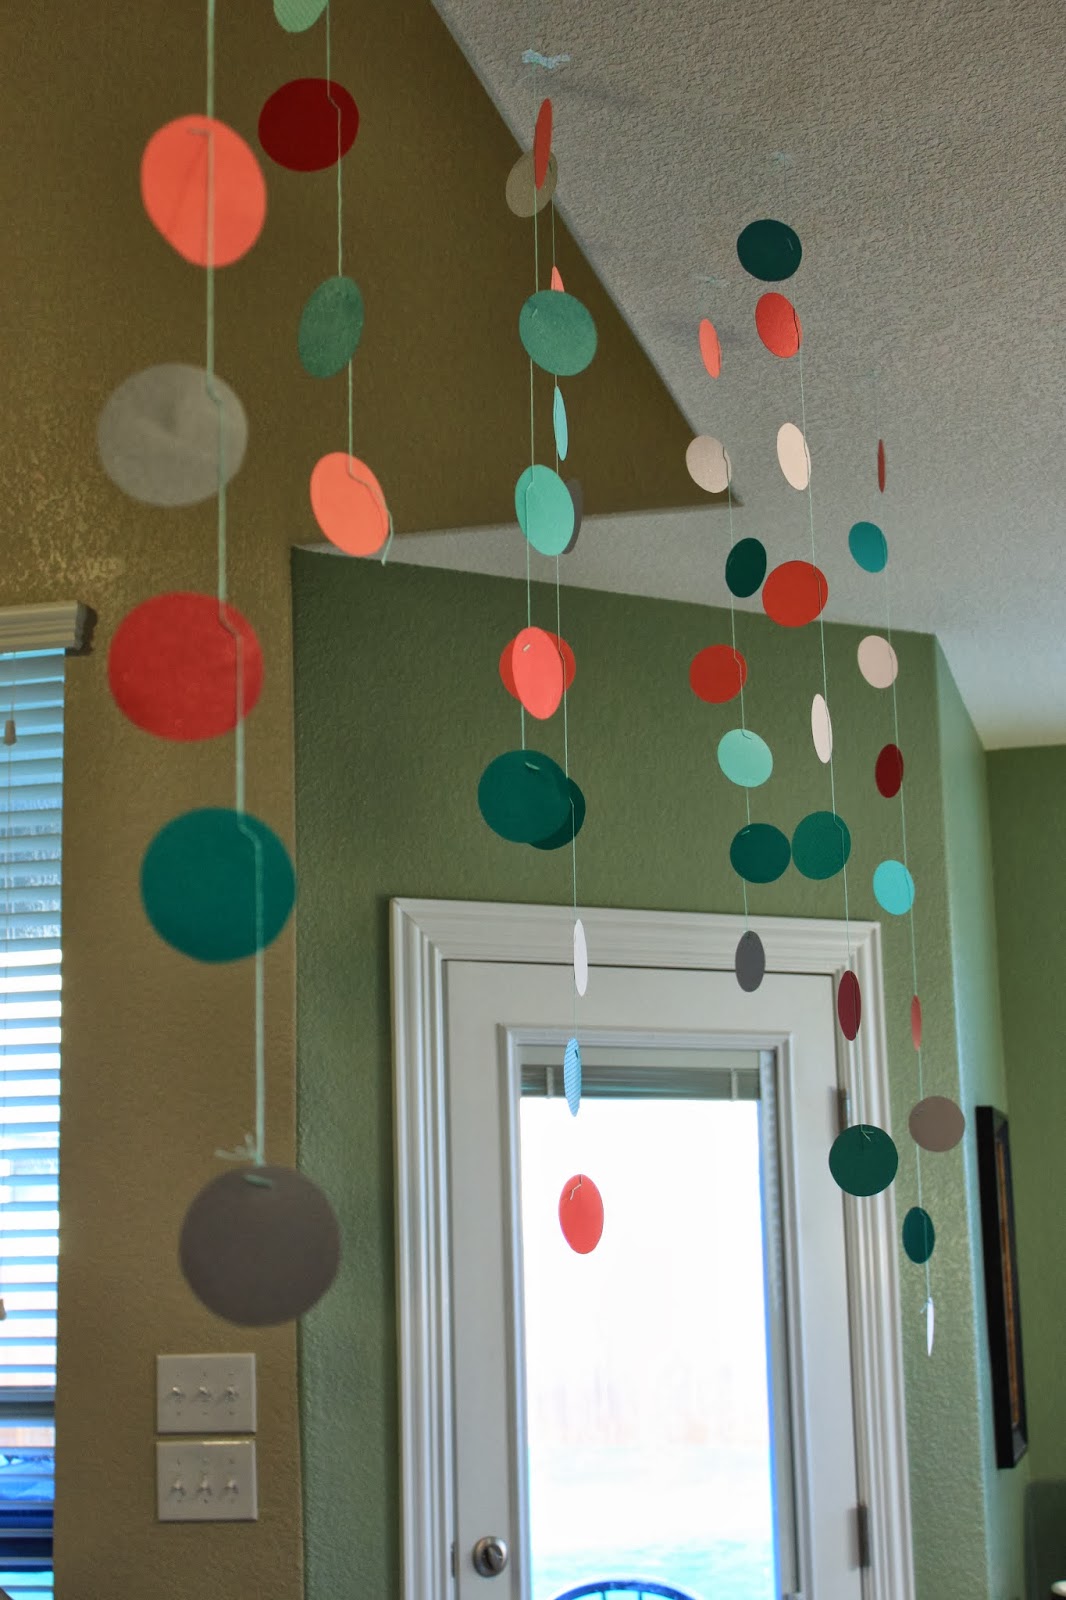
I really like doing DIY projects, but honestly, I rarely post them here. However, I was so happy with the way this little project turned out that I couldn't resist posting it. A few weeks ago, I helped host a good friend's baby shower and was in charge of the decorations. So I made this fun little bubble/dot garland (inspiration taken from here)!
You will need: - Embroidery floss - a decently long needle
- 3 or 4 different colors and textures of cardstock-like paper
- scissors - a pencil - a round glass or something
similar (about 3" in diameter)

1. trace circles with a pencil around the base of the glass

2. Depending on how many garlands you plan on making, you will
probably want to trace between 25 or 30 of different colors and then cut them out.


3. The embroidery floss will have six strands and you will want to separate
it so that it is not so thick. I split mine into three strand pieces.

4. Thread your needle

5. pick one side of your circle and push the needle and thread through it.

6. Now, make a small stitch (1/2" long or so) by going back through the paper


7. Now that you have a stitch, reinforce the stitch by repeating the exact steps you just did, by going through the same holes with the needle and thread again in the same order.
This will help keep the paper from ripping when you hang it.


8. Repeat steps 5, 6 & 7 on remaining dots. On my garland, I alternated the side that
I sewed the embroidery thread on, because it made the dots hang more evenly.
I also put between 5 and 8 dots on each garland, but if you have a
tall space that you are trying to fill, you can definitely go longer.


This is an awesome way to store them so that the threads don't get tangled.

See? Isn't that fun?

Please email me if you have questions or comments! Thanks for stopping by!


So cute! Seems easy enough :)
ReplyDeleteIt looks like it's raining happiness!
ReplyDelete